
You must be this tall to get punched in the face.
< GGST
Overview
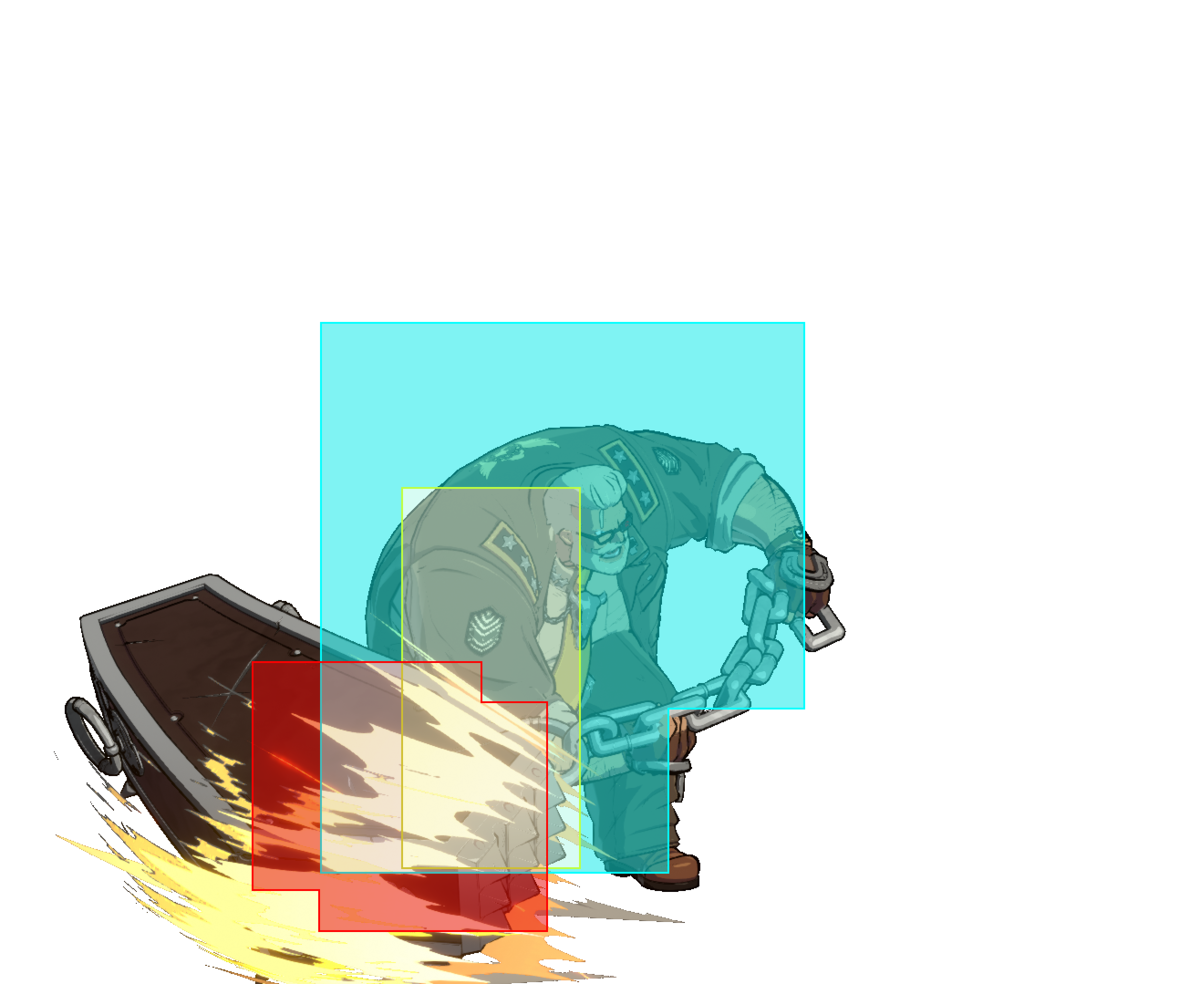
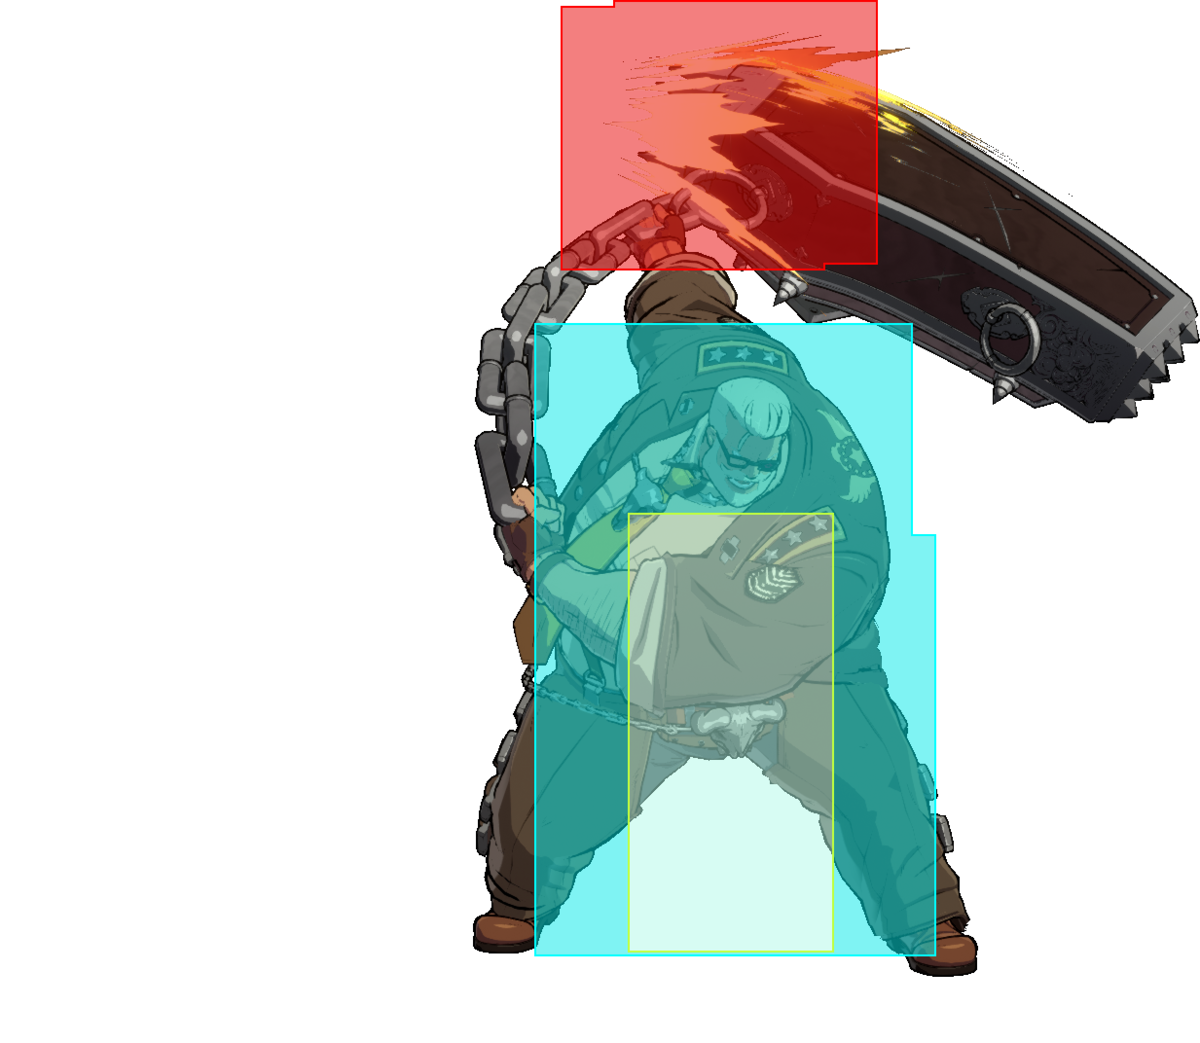
Goldlewis dominates the frontlines by swinging a massive coffin like a weapon. His power is immense, and he's armed with fearsome mix-ups, long-ranged attacks and several projectiles.
Goldlewis’s prime pressure starter is f.S, which has decent range. His j.D has a wide hitbox below him, making it a great jump-in attack. Behemoth Typhoon is a cornerstone of his offense. It has eight versions with various traits that complement each other, such as lows, overheads, fast options and long-ranged options. Most of them are plus on block, further extending his pressure.
The Security Level is a unique gauge that increases over time. When filled up, Goldlewis’s projectiles are powered up, but deplete the gauge on use. Skyfish is a projectile attack and an anti-zoning tool. Both Skyfish and Behemoth Typhoon deal good chip damage, allowing him to dish out pain against blocking foes. He also has powerful okizeme setups via Thunderbird. It’s a projectile attack that locks the opponent down, giving Goldlewis ample time to apply a mix-up.
Contrary to what you would expect, the weakness of the Secretary of Defense is defensive options. His jump and backdash are slow and he lacks good pokes and a double jump. This hampers Goldlewis when under pressure and when playing neutral. These drawbacks are a big deal, but he can handle it. He's quite durable, and his powerful conversions and strong okizeme means that a single hit can turn the tides.
Goldlewis’s devastating offense and large hitboxes are a cut above the rest. But if you’ve heard any silly rumors about an alien inside the coffin, best to just ignore it. Don’t be ridiculous!
![]() Goldlewis Dickinson
Goldlewis Dickinson ![]() Goldlewis Dickinson is classified as a Power type that dominates the frontlines by swinging a massive coffin like a weapon.
Goldlewis Dickinson is classified as a Power type that dominates the frontlines by swinging a massive coffin like a weapon.
Pros
Cons
- High Damage & Chip: Goldlewis' coffin is not just for show. All of his attacks involving it are deal a lot of damage from the get-go, which only gets better with his surprisingly good combo and conversion potential. All versions of Behemoth Typhoon and Skyfish excel at dealing chip damage.
- Large Health Pool: With a good defense modifier and guts rating, Goldlewis can take more hits and use his life bar as a resource.
- Excellent Pressure: Goldlewis has a high amount of plus frames at his disposal, along with Guard Crush pressure and mixups from Behemoth Typhoon. His low jump also complements his ability to keep opponents blocking.
- Setplay Tools: Thunderbird and Burn It down let Goldlewis easily continue pressure from most if not all his knockdowns. Having Security Levels stocked makes his setplay even stronger.
- Many Knockdowns: Almost anything Goldlewis throws out, including full combos, can be converted into a hard knockdown, allowing him to establish either his powerful okizeme or setplay depending on the range and advantage.
- High Tension: When he finally gets in, Goldlewis's tension gain is incredible because of Behemoth Typhoon, allowing him to continue his pressure for extended periods of time, or convert into a devastating combo or option select.
- Deliberate Neutral: It cannot be understated how bad matchups are for Goldlewis if his opponent can keep him out. His pokes are either incredibly slow, stubby, easily low profiled, or a combination of the three and he lacks fast approach tools, forcing him to pick his options very carefully to minimize risks to himself.
- Not so Absolute Defense: Goldlewis has a number of weaker than average defensive options, with a short range 5f 2P, a slow backdash, longer jump startup. Pick your risks wisely even if you can take some wrong choices.
- Slow Movement: Goldlewis has no double jump and his ground run is painfully slow, making it especially hard for him to deal with zoning.

Security Level is a resource Goldlewis can spend to augment his special and super moves. The icon on the top of the gauge represents his current Security Level, which increases from Level 1, to 2, then 3 (there is no Level 0) Goldlewis starts the round at Level 1.
Goldlewis' Security Level increases passively over time. As Security Level increases, Goldlewis' S special moves (Thunderbird and Skyfish) and Burn It down gain three separate versions that correspond with his current Security Level. Using any of these moves causes the meter to be reset to 1. The gauge fills quickly from Level 1 to 2, but fills slowly from Level 2 to 3.
Error: No field named "weight" found for any of the specified database tables.
| Goldlewis Dickinson |
|---|
Normal Moves
StartupThe time before an attack is active. Written startup values include the first active frame, so the startup on a frame chart will display one less square than the written value. Frames
Active The active frames of an attack refers to the amount of time an attack can hit the opponent. Frames
InactiveFrames in the middle of multi-hit attacks which cannot hit the opponent, but are after the move has become active at least once. Frames
Recovery The recovery of an attack refers to the amount of time an attacker must wait before they may perform another action, even blocking. Frames
Special RecoveryThe recovery of an attack refers to the amount of time an attacker must wait before they may perform another action.Recovery frames which happen under abnormal conditions, such as after landing. Frames
ProjectileIndicates an entity that exists separately from the character has become active. Usually something like a Fireball A projectile which usually travels slowly across the screen in a horizontal path above the ground.. Active
CancelA window in which to cancel a move. Can be varied in usage. Window
5P


Total: 15
- Does not chain into itself, but is plus enough to link into 2P on hit.
- Combos into 624H or 684H on hit for a knockdown.
- Whiffs on most crouching characters and standing Giovanna.
Plus, but it whiffing on crouching opponents makes this move very unreliable to use in pressure. Quite lacking in terms of defense due to its 7-frame startup and aforementioned tendency to whiff, though its high hitbox makes it a good anti-air. Often used to buffer Behemoth Typhoons starting from 8 on oki or when covered by a drone because of its low total frames.
Gatling Options: 6P, 6H
5K

Low Crush


Total: 30
- Retracts Goldlewis' low hurtbox before striking.
- Jump cancelable
An interesting normal that is more suited to counterpoking lows. The hitbox retracts during startup and is disjointed while it's active. Combos into 2D for a knockdown anywhere.
Gatling Options: 6P, 6H, 5D, 2D
c.S

Best Oki Button


Total: 27
- Decent tick throw spot but requires a microdash.
- Jump cancelable on hit/block, great for pressure resets.
- Jump cancel can make some Behemoth Typhoon cancels difficult.
Basic punish and non-P or K pressure starter. Delay gatlings can discourage opponents from mashing, which opens up tick throw attemps or more Behemoth Typhoon shenanigans. Interestingly, this can be used as a crouch confirm from P buttons, giving Goldlewis either oki or high damage.
Gatling Options: 6P, f.S, 2S, 5H, 2H, 6H, 5D, 2D
f.S


Total: 30
- Prime poking normal, always combos into 624H and 684H.
- Combos into 486H and 426H on counter hit for higher damage conversions.
Your fastest poke in neutral. Whiffs on most characters at roundstart and can be low profiled, but a reliable button all around. On grounded hit, canceling into 684H is ideal as you get good oki afterwards anywhere on the screen. Counterhits are very rewarding if optimized with 486H or 426H. Blows back at a downward angle on air hit making it tricky if not impossible to continue a combo outside the corner.
Gatling Options: 5H, 2H
5H

Yep, you definitely missed that cancel into Behemoth Typhoon


Total: 39
- Frametraps from c.S, highly overshadowed by Behemoth Typhoons like 268H.
- Surprisingly safe on block at -2.
- Lots of active frames and disjoint make it a usable counterpoke, but generally outshined by Behemoth Typhoons.
Finds use as an OTG in the corner in specific setups and in some combos, but little else. Generally comes out as an input error when trying to cancel into Behemoth Typhoons from c.S.
5D


Total: 48
Total: 56
- Uncharged Dust
- Uncharged dust on-hit is 0 or neutral frame advantage and causes float
- Causes 80% proration on-hit
One whole frame faster than 862H, making it Goldlewis' fastest overhead. Sadly it does not come with that move's frame advantage. Can be gatling from 5K, 2K, or c.S for a mixup. Using it after c.S will frame trap although it requires meter to convert into a combo.
- Charged Dust
- Data in [] represents values when fully charged.
- Charged dust leads to soft knockdown (+36).
- Holding up during the hitstop frames of charged dust will activate homing jump:
- Doing a homing jump will cause an area shift and put the opponent into a unique high damaging air combo state.
- Pressing any attack twice without jump/dash cancel will activate the homing jump finisher causing a hard knockdown (+23).
- Homing jump combos can sometimes increase meter balance enough to activate positive bonus.
Similar to uncharged but is slow enough to be reacted to, but if it does land it gives a very high damaging combo.
2P

Surprisingly great anti-air.


Total: 13
- Does not chain into itself, but is plus enough to link into itself on hit.
- Plus on block.
- Combos into 624H or 684H on hit for a knockdown.
- Goldlewis' fastest button.
Doesn't whiff on crouching opponents and is a little faster than 5P at the cost of some range. Like 5P, can frametrap into c.S up close, making it useful for also sneaking in Behemoth Typhoons or throws. Loses to any characters 6P, so don't go to crazy mashing this on block. The disjointed hitbox makes this an actually good anti-air for Goldlewis.
Gatling Options: 6P, 6H
2K


Total: 23
- Goldlewis' fastest low.
An important move for Goldlewis, as it is his longest ranged move with less than 10f startup as well as his fastest low, and it beats out low profile moves. Combos into 2D and 684H at all ranges raw, though it sometimes will push outside of range for 2D in combos.
Gatling Options: 6P, 6H, 5D, 2D
2S


Total: 35
- Coffin is entirely disjointed.
- Combos into 486H and 426H on counter hit for high damage conversions.
Slower than f.S, but hits low profile, has slightly more reach, and is disjointed in return. Since it doesn't send the opponent away on aerial hit like f.S this is also an important normal for combos when you can't get c.S.
684H and 624H will whiff when connecting this move at tip range, making it a worse poke than you'd think.
Gatling Options: 5H, 2H
2H

Oh hello, Broly
(Anti-air and combo filler)


Total: 53
- Highly unsafe on block and whiff.
Mostly useful as combo filler, 20 frame startup makes it very difficult to use as a reactive anti-air. However, once it's out Goldlewis' legs are entirely disjointed.
2D


Total: 40
- Big range.
- Advances slighty forward on startup.
- Gives easy Thunderbird setups anywhere on screen.
- Combos into 248H for a sideswitch.
Mostly useful to end K starter combos into a knockdown or as a whiff punish for exceptionally slow moves.
6P

Backscratcher


Total: 44
- Whiffs against crouching opponents.
- Combos into 486H on counter hit and 684H on normal hit.
Goldlewis has a unique 6P that hits much higher than usual. Though this makes it a better anti-air against high jump-ins, it makes it notably worse in counterpoke situations as it often whiffs above the opponent's poke. It is punishable both on block and on hit if not cancelled, so a Behemoth Typhoon should always be buffered after inputting this move.
6H

..and that was the last time Goldlewis was asked to be a pallbearer.


..and that was the last time Goldlewis was asked to be a pallbearer.

Total: 57
- Huge damage normal but does not combo from anything it gatlings from unless opponent is airborne.
Mostly relegated to combo filler as every character in the game can mash 5P to beat a gatling into it.
j.P


Total: 20
- Your air-to-air button for scrambles. Inferior to j.S in every way except for speed.
- Doesn't chain into itself.
Goldlewis is forced to cancel this move into something as nothing gatlings from it, not even itself.
j.K


Total: 29
- Can crossup.
- Mostly outclassed by j.D as a jump-in button.
Useful as an instant overhead in F-shiki Sometimes known as "Fuzzy Overhead". When you are in blockstun, you can switch high/low blocking, but your blocking animation and hurtbox does not change until you leave blockstun or block another attack. F-Shikis take advantage of this and use overheads that would miss on crouching characters, but not on standing characters. setups because it combos into j.D when the opponent is slowed down by RC. Used for fake crossups by doing a jump forward over the opponent into air backdash j.K.
Gatling Options: j.D
j.S

The best air-to-air in the business, "The Sploinky"


Total: 34
- High air-to-air button.
- Insanely active.
A great button for air-to-airs both reactively and preemptively thanks to its long active time. A good button to use to stop opponents from jumping over Thunderbird.
Gatling Options: j.H, j.D
j.H

Which side? Yes.


- Messed up crossup button.
- Too slow to come out from an IAD, SJ IAD makes it come out very low to the ground.
Goldlewis's other crossup tool, good after a knockdown into 214S and can set up near unseeable 50/50s when crossing up with it. Combos from c.S and into j.D on standing opponents.
Gatling Options: j.D
j.D

The air based footsies Goldlewis is known for


- Strong jump-in option
- Covers insane amount of space near ground
- Your best button for manually timing a safejump given its high active time.
Overall amazing air button. Absurdly difficult to anti air if used while rising, though it's only plus if used later into your jump. Cancel into an air BT on hit for a hard knockdown and extra damage. Represents a huge part of Goldlewis's neutral game thanks to its reach coupled with Goldlewis's low jump arc. Baiting and punishing enemy 6Ps with empty jumps and airdash BTs is essential to fully utilize this move as a neutral tool.
Universal Mechanics
Ground Throw
6D or 4D

Man, he really puts force into those headbutts

- Can throw the opponent either forward or backwards.
- Hard knockdown on hit.
- 75% forced proration before all damage is dealt, 50% forced proration after all damage is dealt.
Air Throw
j.6D or j.4D

- Can throw the opponent either forward or backwards.
- Hard knockdown on hit.
- 75% forced proration before all damage is dealt, 50% forced proration after all damage is dealt.
Special Moves
Note on Behemoth Typhoon
This move has 8 different versions, all sharing the same name. Each corresponds to a different half-circle plus the ![]() button, including some very unconventional motions. Because of this, all half-circles have been abbreviated to only the cardinal directions in numpad notation. For example, 41236H becomes 426H, 69874H becomes 684H and so on.
button, including some very unconventional motions. Because of this, all half-circles have been abbreviated to only the cardinal directions in numpad notation. For example, 41236H becomes 426H, 69874H becomes 684H and so on.
For Hitbox/Mixbox Players: A max of 1 of the 3 intermediate motions of Behemoth Typhoon can be skipped (with the first and last being "mandatory"). This applies to all other Half-circle inputs as well.[1]
Reading Startup and On Block Advantage
Each version of Behemoth Typhoon technically starts up on frame 12, but not every version typically makes contact with the opponent at the very beginning of its active frames. Many versions have a sort of auto-meaty behavior in a sense that they'll usually make contact somewhere in the middle of their active frames as opposed to the first frame at the start of the swing. If a version of BT commonly hits at a certain spot in the swing other than the beginning, the startup to that point will be noted in the move notes. On-block frame advantage is listed assuming Goldlewis is standing point-blank to the opponent. Spacing and per character variances will be mentioned in the notes.
Active Frame Distribution
Behemoth Typhoon has a moving hitbox that travels along the coffin's path. The hitbox travels in steps which last for varying amounts of frames listed below. Behemoth Typhoon versions with 20 active frames differ from the 15 active frame versions only in their initial 3 active frame steps.
- For 20F versions: Three steps spaced closely at the beginning of the swing lasting 4F, 5F, 5F respectively
- For 15F versions: Three steps in the same spots instead lasting 3F, 3F, 3F respectively
- Two steps, one just before and one after the middle point of the swing lasting 2F, 1F respectively
- Two steps spaced closely at the end of the swing lasting 1F, 2F respectively
The main takeaway here is that the active frames are heavily weighted towards the beginning of the swing while the end of the swing only has a 3F active window. From a more applicable viewpoint, the beginning of the swing of a Behemoth Typhoon can very easily meaty an opponent on their wakeup, but the end of the swing can be consistently avoided with a backdash.
See an example animation of these hitboxes here. Note the duration of the hitboxes shown here are all the same and not to scale with the actual move.
Behemoth Typhoon (426)
41236H (Air OK) ![]()

Forward
.png)

First (left) and Last (right) active frames
Click here for animated hitboxes
_Hitbox.png)
Total: 49
Total: 31
- Slow wallbouncing launcher
- Hits in front of Goldlewis on frame 26.
- Front hit launches midscreen and wallbounces in the corner for combo extensions.
Converts counterhits into massive damage in the corner. The massive wallbounce gives you any combo you want.
Behemoth Typhoon (624)
63214H (Air OK) ![]()

Fast
.png)

First active hitbox (right) and last active hitbox (left)
Click here for animated hitboxes
_Hitbox.png)
Total: 52
Total: 31
- Quick and easy to use
- Can be used as a poke or combo ender
The easiest Behemoth Typhoon to use. Combos from most of his pokes at max range and is fast enough to combo from P buttons. Has fast startup for its range so it can serve as a decent poke, although it is dangerous to whiff. Serves as a decent combo ender, but is generally outclassed in that regard by 684H. Uniquely good at securing wall splats at specific ranges in some combo routes.
Behemoth Typhoon (268)
23698H (Air OK) ![]()

Launch
.png)

First active hitbox (Lower) and last active (upper)
Click here for animated hitboxes
_Hitbox.png)
Total: 44
Total: 26
- Medium range launcher
- Hits meaty with spacing. +3 OB at point blank range but typically +6 or +9 after the push back of a typical normal and +12 at max range.
- Startup against grounded opponents can be 12F, 15F, 18F, or 21F depending on spacing.
Tied for the fastest Behemoth Typhoon versions in terms of active and recovery frames and has the best range in that category. Its range and frame advantage on top of Behemoth Typhoon's typical chip damage and disjointed hitbox make it an amazing corner pressure tool that is difficult to escape. If you happen to get counterhit by this move (especially in the corner), Goldlewis can do some absolutely illegal damage into either a wallbreak or a hard knockdown.
Behemoth Typhoon (248)
21478H (Air OK) ![]()

Back
.png)

First active hitbox (lower) and last active hitbox (upper)
Click here for animated hitboxes
_Hitbox.png)
Total: 44
Total: 26
- Fast side switching low
- Launches opponents behind Goldlewis when connecting at the beginning of the swing.
- Extends combos on airborne opponents when connecting at the end of the swing.
- Last 3 active frames are above head with the last two being the most forward facing, effective startup for juggles is 24F to 25F
- Air version launches the opponent close on hit, allowing for combos if you manage to get a hit right before landing.
A key combo extender when connecting with the end of the swing after a 426H wall bounce or an RC. Gives a strong side swap combo out of close slash if you're cornered, making it great for dealing with opponents who DP out of minus moves on pressure.
Behemoth Typhoon (684)
69874H (Air OK) ![]()

Up
.png)

First active hitbox (right) to last active (left)
Click here for animated hitboxes
_Hitbox.png)
Total: 52
Total: 31
- Long reach combo ender.
- Launches opponents upwards on hit.
- Air version can start a combo if it hits at the end of the swing low to the ground.
- *Last 3 active frames are overhead but they only hit behind Goldlewis.
Fast startup and launch direction gives this better oki than 624H while still comboing after moves like 5P. Also makes for a good combo ender because of its floaty launch and hard knockdown. A great move to cancel into purple RC as its launch direction gives you enough time to close the gap and combo into any of the bigger combo extending Behemoth Typhoon versions. Be careful using this at absolute point-blank range, as there is a small deadzone right in front of Goldlewis.
Behemoth Typhoon (486)
47896H (Air OK) ![]()

Slam
.png)

First active hitbox (left) to last active (right)
Click here for animated hitboxes
_Hitbox.png)
Total: 49
Total: 31
- Slow long range overhead.
- Leads to a ground bounce combo starter when hitting with later front half of the move.
- Hits slightly later against crouching opponents and some of the shorter standing characters (GI,MA,CH,MI,RA,LE,IN,JC - 18th active frame, 29F startup, +15 OB).
- Against every other standing opponent it hits on the 17th active frame, 28F startup, +14 OB.
- Can be used to set up F-shiki Sometimes known as "Fuzzy Overhead". When you are in blockstun, you can switch high/low blocking, but your blocking animation and hurtbox does not change until you leave blockstun or block another attack. F-Shikis take advantage of this and use overheads that would miss on crouching characters, but not on standing characters. on block with tension
A great move to combo into off of big midscreen counterhits or a normal hit 2H. Also a useful tool to occasionally throw out in pressure for dealing with opponents who FD often, as its gratuitous plus frames mean you can partially reset your pressure, or go for a throw.
Behemoth Typhoon (842)
87412H (Air OK) ![]()

Low
.png)

First active hitbox (Upper) to last active (lower)
Click here for animated hitboxes
_Hitbox.png)
Total: 44
Total: 26
- A slow hitting low with great advantage on block
- 24F startup to hitbox in between Goldlewis's legs, 25F startup for final hitbox just past his front leg
- Late connect at feet leads to a combo.
- Short reach at feet.
- First 9 active frames are above Goldlewis's head and will launch the opponent behind him.
A good meaty option to mix in along with the overhead Behemoth Typhoons. Due to its input however this can be difficult to setup correctly. It can be used to side switch airborne opponents at the end of a combo.
Behemoth Typhoon (862)
89632H (Air OK) ![]()

Overhead
.png)

First active hitbox (upper) to last active (lower)
Click here for animated hitboxes
_Hitbox.png)
Total: 44
Total: 31
- Overhead, and faster than the other one.
- 21F vs standing and 23F vs crouching opponents
- Hits later against standing Giovanna (12th active frame, 23F startup, +14 OB)
- Short reach and does not give a meterless combo.
- Can be used to set up F-shiki Sometimes known as "Fuzzy Overhead". When you are in blockstun, you can switch high/low blocking, but your blocking animation and hurtbox does not change until you leave blockstun or block another attack. F-Shikis take advantage of this and use overheads that would miss on crouching characters, but not on standing characters. on block with tension
Thunderbird
214S

Go my child, and hold down the neutral.


Visual desyncs with hitbox when used from a distance (Early/Far)

(Midscreen)

(Late/Close)


- After inputting, Goldlewis can move on frame 43 but the projectile doesn't have a hitbox until frame 57.
- Goes away if Goldlewis is hit before it goes active, but after that it doesn't. Don't believe the lies.
- Affected by Security Level and resets it to Level 1 on use. More Levels = farther travel distance and more hits.
- Thunderbird itself will block projectiles as long as it's out.
Fantastic and easy-to-use setplay tool. Can run behind it with relative safety since it's incredibly hard for some characters to deal with. Easily set up after 2D, throw (and OTG 5H), or corner combos ending in 684H.
Skyfish
236S

Cry some more!


Despite what the animation suggests, each bullet's hitbox is positioned identically

- Affected by Security Level. More levels = more bullets.
- Easily cancels out other projectiles.
- Decent chip damage on block.
- Will eat your opponent's tension bar if they FD to avoid the chip damage.
The level 3 version of this move causes a special hard knockdown state that allows OTG hits to continue combos without causing the usual OTG auto tech. At full screen this knock down allows Goldlewis to close the gap and re-establish some pressure. Mostly useful as a meaty for chip damage/tension drain or as an anti-zoning tool, but it's generally too slow to use on reaction. At Security Level 2 and 3 Skyfish can be cancelled by pressing S during the animation. This can be used to avoid being punished by air approaches if the opponent jumps over Skyfish on reaction.
Overdrives
Down With The System
632146P ![]()
![]() or 720P
or 720P ![]()
![]() or 1080P
or 1080P ![]()
![]()
![]()

WAKE UP! Grab a brush and put a little make-up!


| Version | Damage | GuardHow this attack can be blocked. | StartupThe number of frames between inputting an attack and when the attack becomes active. Includes first active frame. | ActiveThe number of frames for which a move has hitboxes. Occurs after Startup. | RecoveryThe number of frames after a move's active frames during which the character cannot act assuming the move is not canceled. | On-BlockThe difference between the attacker's recovery and the period that the opponent is in blockstun. This Frame Advantage value is based off the fact that the very first active frame touches the opponent. | Invuln |
|---|---|---|---|---|---|---|---|
| 632146P | |||||||
| 130 [130,13] | All | 6+(135 Flash)+4 | 5 | 46 | -33 | 1-14F Full | |
| 720P | |||||||
| 145 [140,13×2] | All | 11+(191 Flash)+4 | 5 | 46 | -33 | 1-19F Full | |
| 1080P | |||||||
| 160 [151,13×3] | All | 16+(230 Flash)+4 | 5 | 46 | -33 | 1-24F Full |
Total: 60
Total: 65
Total: 70
- Data in [] represents values on Clean Hit
- Clean Hit activates a cinematic with Thunderbirds attacking the target
- All versions will break the wall
- Fully invincible during startup for all versions
Goldlewis pulls his arm back before delivering single, devastating uppercut. Can be performed with the listed motion or a 360 for the same damage and startup.
Inputting up to two more circles after the first increases the move's startup and damage, while also allowing for a clean hit. The cutscene after the wind-up animation will indicate a successful 720 (zoom-in) or 1080 (zoom-in and glasses break).
Highest damage super in the whole game when fully churned.
Similar to Faust, Goldlewis can cancel the startup of the 1080 version into a Purple RC while retaining the invincibility of the super.
Burn It Down
236236K

Hmm yes Setplay

I used two resources for that?


| Version | Damage | GuardHow this attack can be blocked. | StartupThe number of frames between inputting an attack and when the attack becomes active. Includes first active frame. | ActiveThe number of frames for which a move has hitboxes. Occurs after Startup. | RecoveryThe number of frames after a move's active frames during which the character cannot act assuming the move is not canceled. | On-BlockThe difference between the attacker's recovery and the period that the opponent is in blockstun. This Frame Advantage value is based off the fact that the very first active frame touches the opponent. | Invuln |
|---|---|---|---|---|---|---|---|
| Level 1 | |||||||
| 8×10 | All | 13+(84 Flash)+79 | 52 | 27 Total | none | ||
| Level 2 | |||||||
| 8×15 | All | 13+(84 Flash)+79 | 72 | 27 Total | none | ||
| Level 3 | |||||||
| 8×20 | All | 13+(84 Flash)+79 | 92 | 27 Total | none |
- Actionable post super freeze after 27 frames
Goldlewis targets the corner behind the opponent with a static aiming reticle and returns to neutral. After a delay, a multi-hitting column projectile appears that travels back towards him. Does not track the opponent.
Security Levels increases the projectile's duration, travel distance and number of hits. The laser travels (roughly) one character length at level 1, halfscreen at level 2, and nearly fullscreen at level 3.
This setplay super is commonly used to checkmate the opponent in the late game. If you can't land a super wallbreak, Positive Bonus will almost guarantee a chance to use Burn It Down.
External References
To edit frame data, edit values in GGST/Goldlewis Dickinson/Data.
 Anji Mito [★]
 Asuka R♯ [★]
 Axl Low [★]
 Baiken [★]
 Bedman? [★]
 Bridget [★]
 Chipp Zanuff [★]
 Faust [★]
 Giovanna [★]
 Goldlewis [★]
 Happy Chaos [★]
 I-No [★]
 Jack-O' [★]
 Johnny [★]
 Ky Kiske [★]
 Leo Whitefang [★]
 May [★]
 Millia Rage [★]
 Nagoriyuki [★]
 Potemkin [★]
 Ramlethal [★]
 Sin Kiske [★]
 Sol Badguy [★]
 Testament [★]
 Zato-1 [★]
Click [★] for character's full frame data
Essentials
• HUD •
Controls •
FAQ •
The Basics
• Movement/Canceling •
Offense •
Defense •
Gauges •
Universal Strategy •
Detailed & Advanced Information
• Damage/Combo •
Frame Data & System Data •
Attack Attributes •
Misc •
Archived Information
• Patch Notes • Tier Lists •
- Attack Level
- Blocking
- Burst Gauge
- Cancels
- Clash
- Dash Cancel
- Faultless Defense
- Frame Advantage
- Gatling
- Gravity
- Guard Crush
- Guts
- Hitstop
- Hitstun
- Instant Air Dash (IAD)
- Instant Block
- Instant Faultless Defense
- Invalid Combos
- Knockdown Recovery
- Low Profile
- Minimum Damage
- Negative Penalty
- Off the Ground (OTG)
- Positive Bonus
- Prejump
- Proration
- Psych Burst
- Punish
- Overdrive (Super Attack)
- R.I.S.C. Level
- Roman Cancel (RC)
- Stagger Recovery
- Tension Gauge
- Throw
- Throw Clash
- Wall